If you start a new hobby, you will make mistakes. That’s part of the game, also when you make cyanotypes, and it’s okay.
Some mistakes are final, but that’s “tuition money” most of the time. Other errors can either be covered up or corrected. And some mistakes have a surprising effect. Beautiful results came from accidental errors.

The most important tip is to keep a log so that you know what you did. By the way, a log is also convenient to repeat successful results.
Some of the links are affiliate links. As an affiliate associate, I earn a small commission when you purchase any of the products offered through the shared links at no extra cost to you. This helps me to maintain this website and I thank you for supporting me.
Table of Contents
Common mistakes in cyanotype
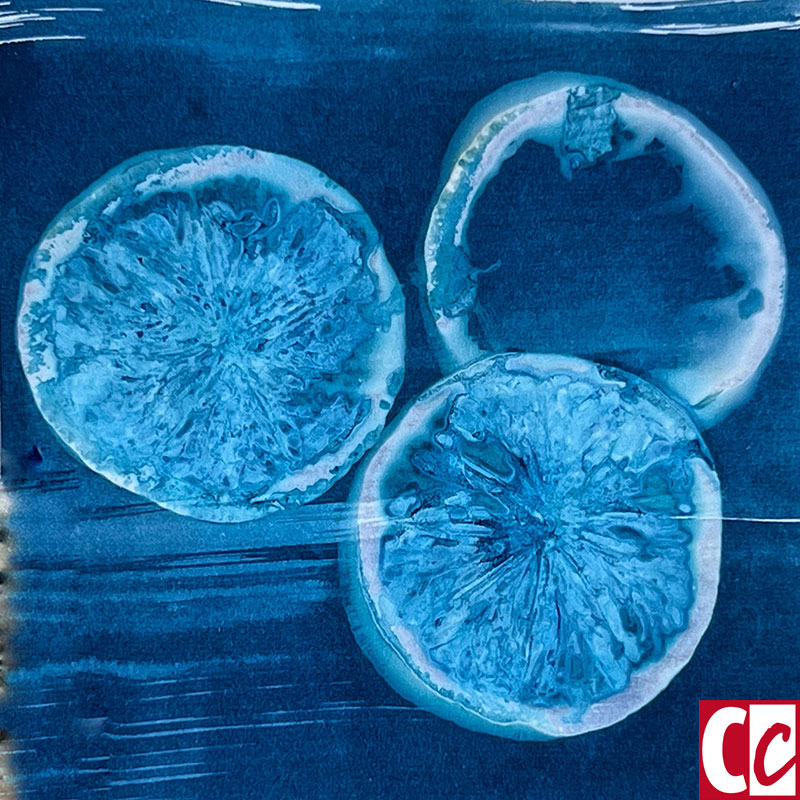
A good cyanotype has a nice shade of blue and white and, depending on the subject, some light blue tones.
Before experimenting with the composition of the fluids or adding substances, this should be the first goal: to make a good cyanotype.
Stains in the end result
Composition of the (tap) water
If there are unexpected stains in the cyanotype, the pH of the water used may be incorrect. Water is applied to prepare the fluids and to develop and rinse after exposure.
My tap water contains chlorine. Rinsing is no problem but just to be on the safe side I use filtered water to make the liquids.
If filtering doesn’t work for you, try distilled water.

Incorrect mixing of liquids
A stupid mistake I made recently was switching the percentages of Potassium ferricyanide (A) and Ferric ammonium citrate (B) that I had to mix with the water.
It took me a while to understand why my prints were suddenly way too dark!
Fortunately, this was quickly remedied by adding more water to A and more powder to B. Although it required some calculations of course. 😉
Related: How to Get Started with Cyanotype to Create Splendid Blue Prints?
Blotchy, unevenly covered surface
If the result has become striped, your developer solution has not been applied evenly. Try a different brush next time or maybe you prefer working with a foam brush or spray bottle.
You can usually see that the image will turn out striped before you expose it. It doesn’t help to brush the paper again with the liquid, that will only give you darker stripes.
What you can do is experiment with additions. Adding lots of soapy water will dilute the original mixture and create stains that can be very appealing. Likewise, if you add vinegar or something similar.
Using material that is not waterproof
Brushing paper that is too thin and of poor quality will bubble too much. This causes “lakes” of light and dark spots after drying. In addition, there is the risk that the paper will fall apart during rinsing.
A good quality watercolour paper gives the best result. Textile gives the best result if it is stretched on a surface.
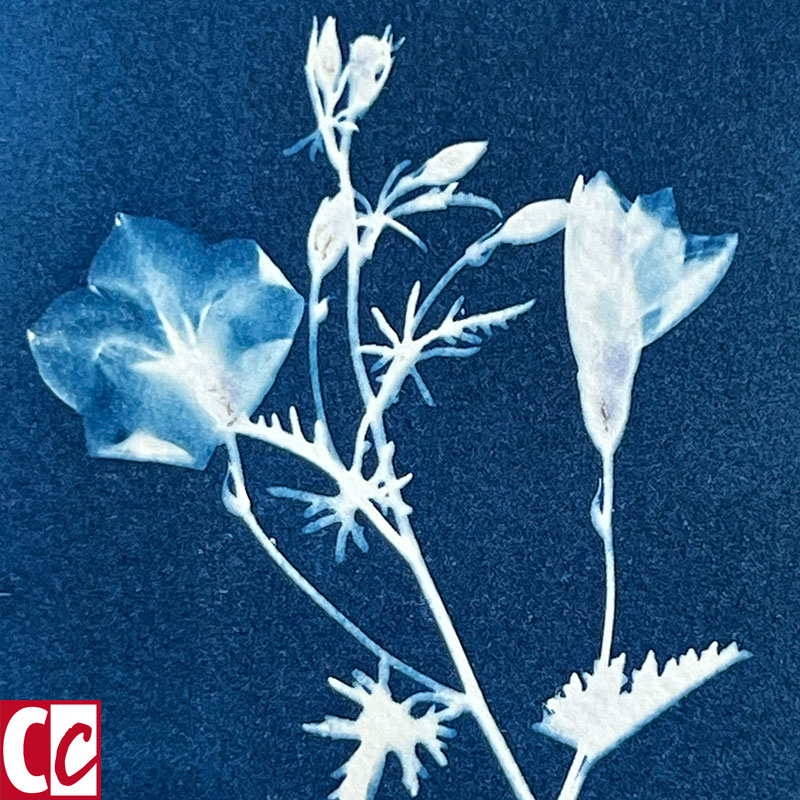
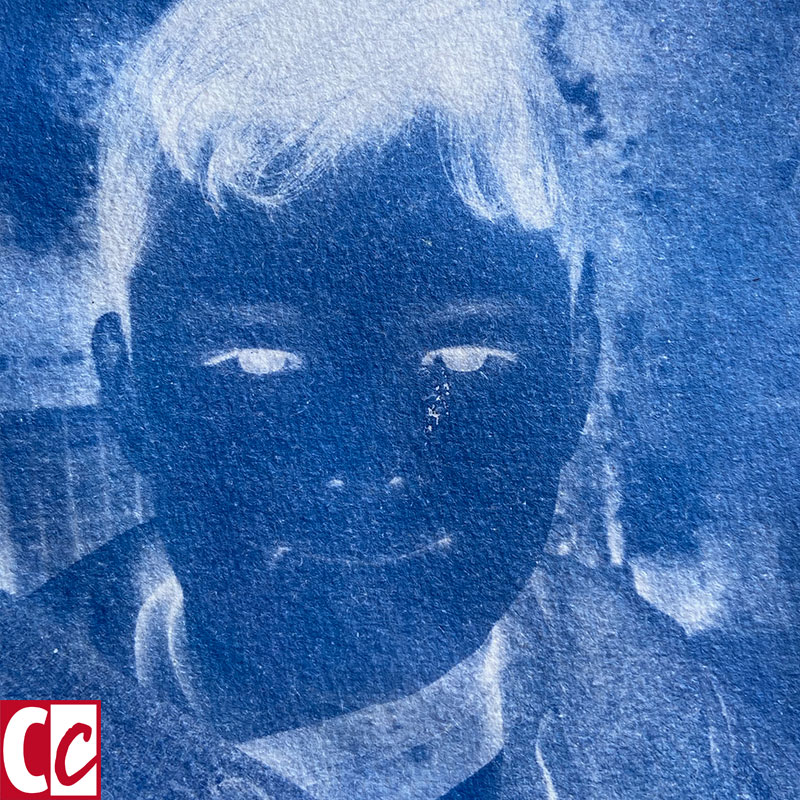
Sweat and hand lotion cause stains
The solution to stains caused by hand lotion is clear: don’t use lotion. If you perspire easily, you can put on plastic gloves. They may make you sweat even more, but then it will not affect your cyanotype.
If the size I’m working with is small enough, I can hold the paper by the sides in the palm of my hand. This is more difficult with larger formats and as you can see in the example it was very hot that day and I held the paper too tightly at the corner and the side, causing lighter blue spots.
Disappointing results

Light blue print
Exposing for a too short time results in a light blue print with little contrast. That can not be corrected afterwards.
Optionally, you can apply a new layer of liquid and expose another subject so that you get a double image. It is even possible that you will get excited about the result and deliberately expose it too short and then make a double image!
Too dark
Exposing too short happens more commonly than too long. Extending the exposure time doesn’t have as much influence as shortening the time, so you have more room to vary. Still, a cyanotype can turn out to be too dark.
Perhaps your subject is more transparent than you had seen? The time of day also affects the strength of the sun, so keep an eye on the UV value and the clouds.
Unexpected shadows
The exposure times I have to use here in Spain are generally short. Sometimes I read on Instagram that someone exposed her or his cyanotype for 3 hours. My average 7 to 8 minutes contrasts sharply with that.
With such a long exposure time you have to keep a close eye on the course of the sun. Are there obstacles such as trees or bushes that will block the sun partially? Of course, that can cause strange shadows.
Printing photographs
Not reversing the image
One of those mistakes for which you slap your hand against your forehead in frustration: forgetting to make a negative of the photo you want to print. Grrr.
Luckily I’ve only made that mistake once so far, the first photo I wanted to print.
Obviously, this is one of those irreparable mistakes, but you probably feel so stupid (at least I did) that you never make that mistake again.
Turning the image
A negative can accidentally be placed the other way around on the paper.
This is a mistake that is less easy to avoid because some images are less recognizable in a negative representation. Unless there is text on the image, then it’s quite obvious.
A ‘grey’ image
A photo should have a lot of contrast if you want to convert it into a cyanotype. It quickly becomes too ‘grey’, or in this case too light blue.
If you can’t get the image to have enough contrast, try using a different paper. Watercolour paper with a lot of structure is more likely to give a greyish image than a smoother surface.
Focusing until the last minute

Yellow spots
Rinse the cyanotype long enough to get all the unexposed liquid off. If, like me, you want to use water sparingly and don’t want to keep the tap running, move the rinse water for a while with your hand or a plastic tool, and then leave the paper in the water for a while.
If you don’t rinse enough, the liquid will continue to develop and the image will be too dark.
Not using hydrogen peroxide
This is not really a mistake and ultimately has little influence on the result. The image will be lighter if you don’t use hydrogen peroxide. Leave the cyanotype for a day and it will get darker anyway.
Conclusion
In short, these are the mistakes you can avoid:
(PS I am making a video with examples of all the mistakes and will post it soon).
While preparing
- Composition of the (tap) water;
- Incorrect mixing of liquids;
- Blotchy, not evenly covered surface;
- Using material that is not waterproof;
- Stains caused by sweat and hand lotion.
During the process
- Exposed too briefly;
- Exposed too long;
- Shadows while exposing for a long time.
Using negatives
- Using a positive instead of a negative;
- Accidentally reversing the negative;
- A picture without enough contrast.
Finishing
- Insufficient rinsing;
- Not using hydrogen peroxide.
Did you make mistakes in the past? Tell me in the comment box below and how you solved it. We can all benefit from the solutions you recommend. 🙂