In this article, I explain how to make a handmade frame and combine it with layers in Photoshop in an easy way. The end result appears to be the outcome of masking, but it is actually the result of selecting and deleting.
In the starting years of the availability of computers for everyone, I met a professional illustrator who said he had bought a computer and some illustration programs because he was sick and tired of getting dirty hands while drawing.
In my view, one is not a professional then. Dirty hands are part of the game. Yet, combining handmade frames with Photoshop is adding another element to our tool kit of possibilities to enhance our photos.
Some of the links are affiliate links. As an affiliate associate, I earn a small commission when you purchase any of the products offered through the shared links at no extra cost to you. This helps me to maintain this website and I thank you for supporting me.
Table of Contents
Combining handmade frames with Photoshop
Both activities, painting with actual paint and working on the computer in Photoshop, are marvellous tools to develop our creativity. Combining those skills expand this creativity even more.
Make your own remarkable frame
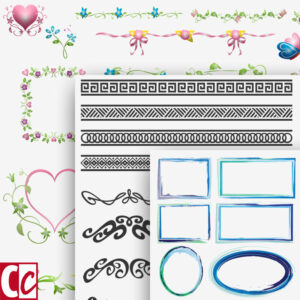
There are tons of free frames available on the Internet. They’re fun to use. But wouldn’t it be great to make your own frame?
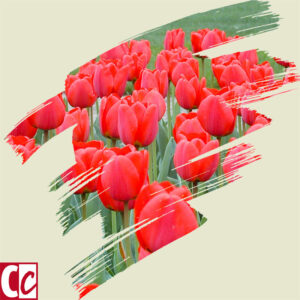
I have made the frame in the picture at the end of this article with a bristle brush. I love the imperfection of a handmade drawing.
Of course, there are ways to make it digitally as well, though you will probably need a drawing tablet to get a similar result.
I’ll explain step by step how you can make a frame like the one shown there. And I’ll also give alternatives, so you know how you can customize it to your own liking.
I use Adobe Photoshop, but Photoshop Elements or any other program that works in layers will do. Gimp and PaintShopPro seem to give good results, although I don’t know them myself. I am an Apple and Adobe user by religion 🙂
What do you need?

A picture you want to level up
The picture can either be a really good one, so you want it to stand out extraordinarily. Or it can be a picture that isn’t very good, but that has others reasons to be handled with extra care. For instance, it’s a picture that resembles great memories and you want to combine several of those memories into one image.
A self-made frame
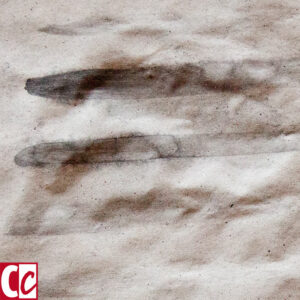
Although I adore my computer, I am from the age of paint and stained fingers. So I make my frames with real paint or ink as in the described example. But in any photo program, there are tools to make similar quadrangles and spots in a digital way.
How to avoid paper problems
Paper that is not supported in any way will stay bubbled after first getting wet and then drying. You can easily prevent this by adhering to the paper on the edges. (Have a look at this painting in Museum Insel Hombroich – talking about crumbled paper!)
The easy way
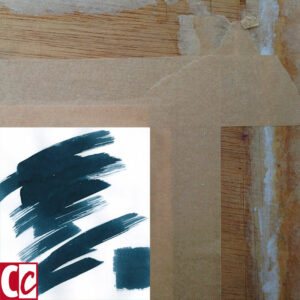
If you use stretched paper only occasionally, it’s best to buy a watercolour block, like the one you can see in this picture. This consists of quality paper glued on all 4 sides so that it flattens after each step when you let it dry.
It’s quite expensive because the paper is not made of wood but of cotton rags, but the colour and the surface are really grand. You can buy blocks in any good art supply store.
The difficult way
For the DIY manner, you’ll need plywood, paper tape, a sponge with a bowl of water, and a sheet of watercolour paper.
- Gather the supplies;
- Wet the paper with a non-marking sponge. The paper will swell. Make sure it is wetted evenly;
- Let it rest for a couple of minutes;
- Tear the paper tape to the desired length. Wet the pieces of paper tape and let them rest for a moment too;
- Place the paper on the plywood and rub it gently from the centre to the sides to position it;
- Paste one long side with a strip of tape;
- Rub the paper again on the board until it’s more or less flat and adhere to the opposite side. Next, tape the short sides;
- Let it dry completely before you paint on it.
Good preparation is half the job
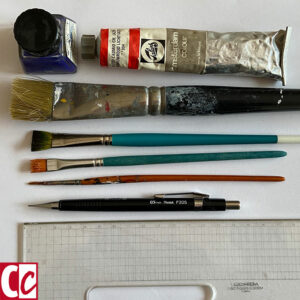
Usually, I’ll try both ink and paint with different kinds of brushes, because they will give a varied texture
Once the paper is tight and flat in front of you, draw all kinds of frames on it. The paper will swell again of course, but because of the paper tape, it will dry up nicely time and again.
Sometimes I draw rectangles in the ratio of the photographs I am going to use. Sometimes I draw freeform shapes.
You can do whatever is to your liking. Just make sure that the contrast between the colour of the paper and the colour of the ink or paint is high enough.
From traditional to new media
I scan all the frames I have made and choose which one to use after that. The reason to scan also the frames that are not completely right is to be able to digitally copy and paste parts of them. If you don’t have a scanner, making a picture of them will do too.
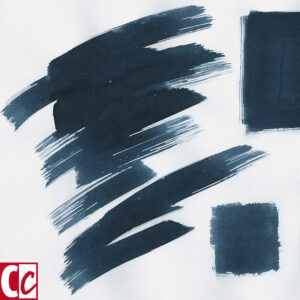
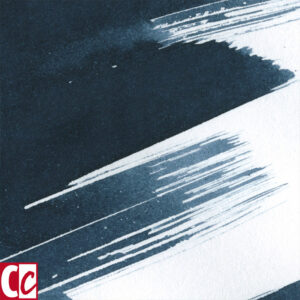
Open the scan or photo of the frame in Photoshop
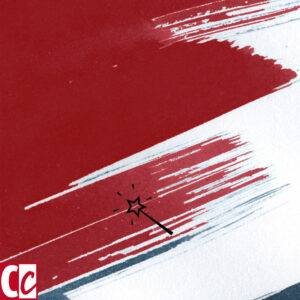
I am a huge fan of Adobe Photoshop, but any other photo editing program is fine too. By varying the value of the magic wand you can select as much of the smudge as you want. Copy the selected area.
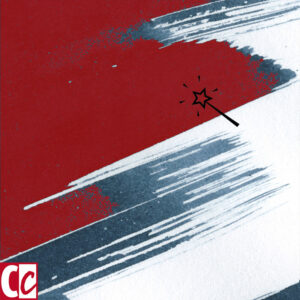
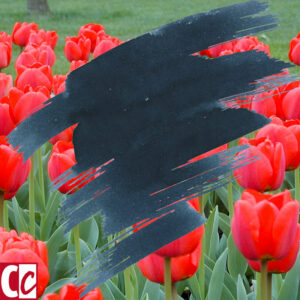
Open the picture that is going to be framed as well
- Think in layers and paste the copy of the selected blot in a new layer on top of your picture;
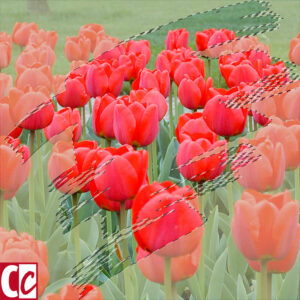
- Invert the selection and activate the layer with the picture;
- Throw away the selected part.
I added another layer that I made yellow, well, kind of yellow. The main reason is that it supports the explanation. Generally, I would make that layer the same colour as the background of where it’s going to be used to make the spot stand out more to the rest.
If you want to read more about using layers in Photoshop, have a look at my article about an Easter card.
Related: How to Use Layers in Photoshop to Make a Festive Easter Card
Have you made frames for your pictures yourself? Tell me in the comment box below.
This article is an update. Originally published on 30-10-2014.



I always wondered how these were made. I like the final result but I don’t see myself using Photoshop, I have zero talent when it comes to anything related to technology. Still, I shouldn’t be that adamant, I said the same about buying a camera and here I am, trying to figure out a Nikon I bought online.
Exactly, Bailey, we can do always more than we think we can, once we set our minds to it. And it’s so great that you are studying how your camera works. Photoshop is a great program to expand your options. Not only to work with layers, but also to edit the photos, so that they have just a bit more contrast and colour.
Thanks for your comment and good luck.
This is a very helpful post on making your own picture frames and using Photoshop to produce your own painting. Technology has advanced so much, and it is great to see the way in which you have used the software to demonstrate how easy it is to create your own images.
You mention that you use plywood when stretching the paper, but have you ever tried to use reclaimed wood? Or would that not give you the desired result? Thank you.
Wooden planks do indeed not function well for this purpose, Line. Because the paper is made very wet, the underlying plank will also get wet. And wood ‘works’ when it gets wet. It expands and contracts and therefore will bend. If the plywood is reclaimed from a demolition building, that’s another story of course. That would be perfect. As long as it stays flat. 🙂
Thanks for your comment, Line, I hope that you can apply frames yourself.